A quiz is a Moodle course activity. The Quiz activity module allows the teacher to design and build quizzes consisting of a large variety of Question types, including multiple choice, true-false, short answer and drag and drop images and text. These questions are kept in the Question bank and can be re-used in different quizzes.
To create a quiz, first create the quiz shell, then add questions to the shell, either creating them as you go or using existing questions in the course question bank.
- On the Moodle course home page, click on manage courses, select created course and click edit
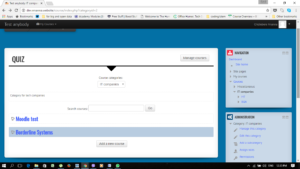
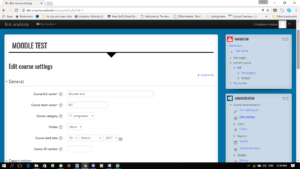
- Under course format, Choose ‘Single activity format’ and under Activity type, select ‘quiz’. Save and display your selection. A new page ‘Adding a New Quiz’ opens up.
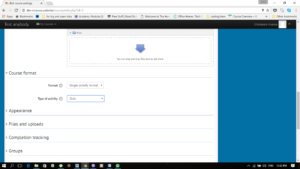
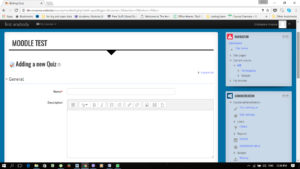
3. In the General section (As shown above), enter a Name, and an introductory Description if necessary.
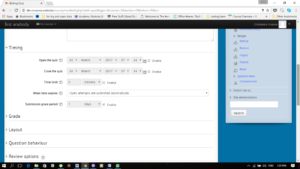
4. In the Timing section:
- Enable and select dates to Open the quiz and Close the quiz.
- Enable and set a Time limit, if using.
- Select the appropriate option for When time expires.
- If you are allowing a grace period, Enable and nominate a Submission grace period.
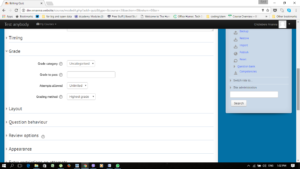
- In the Grade section:
- Select the Grade category within the Grade book where you want this assignment to belong.
- Set the number of Attempts allowed, the Grade to pass and, if multiple attempts are allowed, which Grading method Moodle should use.
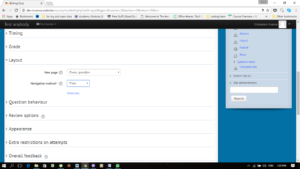
- In the Layout section:
- Select whether you want the Question order to be randomised, and where you want New page breaks to fall.
- Click Show more and select, at Navigation method, whether you want Moodle to force students to answer questions sequentially.
- In the Question behaviour section:
- At Shuffle within questions, select whether you want multiple choice or matched question options randomised.
- Select How questions behave. Deferred feedback (students must submit entire quiz before they see any grade or feedback) and Interactive with multiple tries (students submit each questions and get immediate feedback as they progress through the quiz) are the most common choices.
- If you allowed multiple attempts, click Show more and select Each attempt builds on the last, if you want each new quiz attempt to contain the results of the previous attempt. This allows students several attempts to complete a quiz.
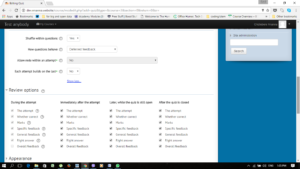
- Under Review options, select what you want the student to be able to see when they view their attempt or report at various stages.
9. In the Appearance section, make choices about how you want the quiz to display:
- Do you want to Show the user’s picture during the attempt, and on the review screen, to make it easier to check that they are logged in as themselves in an invigilated exam?
- How many Decimal places in grades do you want to display to the students for this quiz?
- How many Decimal places in grades do you want to display to the students for individual questions in this quiz?
- Select whether you want the normal blocks to display during the student’s quiz attempt.
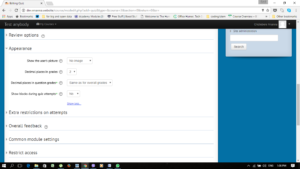
- Under Extra restrictions on attempts:
- Do you want to Require password for students to access this quiz?
- The Require network address setting is for proctored quizzes, to ensure that only students in a certain room can gain access to the quiz. Obtain the IP addresses for all rooms in which the quiz will be taken, and enter them in this field, separated by commas.
- Enable and select whether you want to set up the 2 levels of Enforced delay.
- Click Show more and select whether you want to set up Browser security and restrict students’ view and activity further (read the relevant help text ).
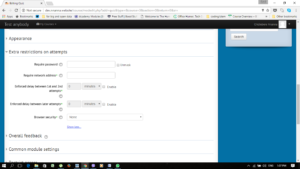
- Overall feedback: Enter the Feedback text the students will automatically see, depending on which range of scores they fall within, as defined by the grades or percentages in the Grade boundary fields.
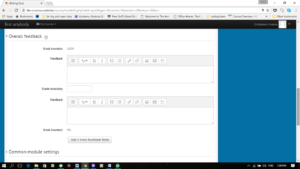
Complete any other necessary page sections, then click Save and display to access the page for adding questions to the quiz.
Add questions to a quiz
You can add questions to a quiz in 3 ways:
- create them one at a time within the quiz
- retrieve them from a question bank
- import them from a file on your network or computer, or from one of your uploaded course files
To create questions one at a time within a quiz:
- On the quiz’s home page select Edit quiz.
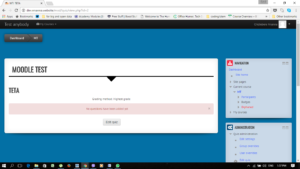
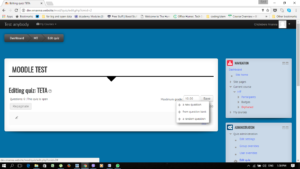
2. On the Editing quiz page, click Add and select a .new question
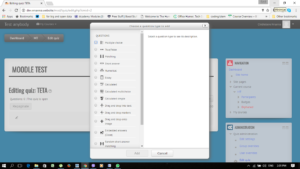
3. In the Choose a question type to add window, select the question type and click Add.
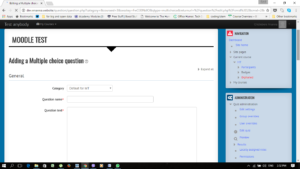
4. On the Adding a [question type] question page, select a question Category, enter a Question name and some Question text, then complete the remainder of the fields as required, clicking Help for assistance if necessary.
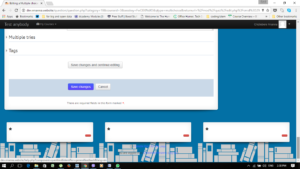
5. If the question is complex and you want to check how it will display to the student, scroll to the bottom of the page and click Save changes and continue editing. Then:
- Click Preview, and the question will display in the Preview question
- If necessary, adjust the Attempt options and click Start again with these options to see how the revised question behaves.
- If necessary, change Display options and click Update display options to check the display.
- Close the window when you are happy with the way the question behaves.
6. Click Save changes. The question displays on the Editing quiz Click the arrows to change its position within the quiz.
Question Bank
This feature allows a teacher to create, preview, and edit questions in a database of question categories. The categories can be limited to being used on the site, course or quiz level. The questions in a category can be added to a Quiz or to a lesson activity via an export process. The teacher enters the question bank by creating or editing a quiz activity or via Settings > Course administration > Question bank.
Add A Question To A Question Bank
Every Moodle course comes complete with a question bank, where all questions created for the course are stored. To add questions to the bank:
- On the course home page, in the Settings block, select Course administration > Question bank > Questions.
- On the Question bank page, from the drop-down list Select a category you want to add a question to. You can also select whether and how questions already created for that category display.
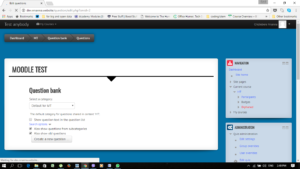
- Click Create a new question.
- In the Choose a question type window, select the question type and click Add.
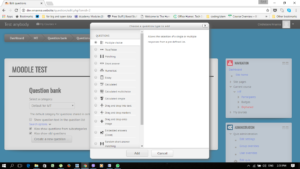
- On the Adding a [question type] question page, complete the question, answer and feedback fields as required, clicking the Help button for assistance if necessary.

- If the question is complex and you want to check how it will display to the student, scroll to the bottom of the page and click Save changes and continue editing. Then:
- Click Preview, and the question will display in the Preview question
- If necessary, adjust the Attempt options and click Start again with these options to see how the revised question behaves.
- If necessary, change Display options and click Update display options to check the display.
- Close the window when you are happy with the way the question behaves.
- Click Save changes. The new question displays, highlighted, on the category page.
Add And Edit Question Bank Categories
To start with, each course’s question bank contains a single, ‘Default’ category. Create more, to make it easier to find questions, and to enable you to use random questions and matching questions more easily. Within the course question bank, you can create hierarchies of parent categories and subcategories.
- On the course home page, in the Settings block, select Course administration > Question bank > Categories.
- On the Edit categories page:
- Select an appropriate Parent category from the drop-down list. Select Top to make this new category a top-level category.
- Enter a Name for your new category.
- Enter any Category info that will be useful for users compiling quizzes.
- Click Add category. The new category displays in the list at the top of the page.
- To edit the new category, click the Edit this category icon next to the category’s name.
- On the Editing a category page, change the Parent category, Name and Category as desired, and click Save changes.
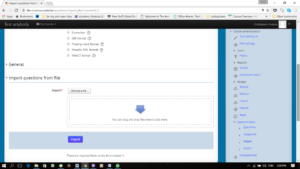
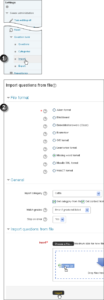
To Import Questions:
- On the course home page, in the Settings block, select Course administration > Question bank > Import.
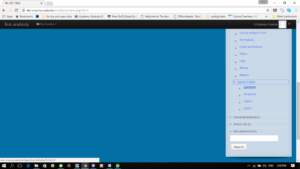
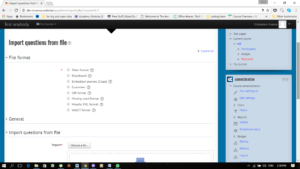
- On the Import questions from file page:
- Select the File format.
- Complete the Generalfields as desired.
- Choose a fileto import.
- Click Import.

Recent Comments